How to apply flat roof sealant
Posted by admin in Roofing on Feb 17th, 2020 | Comments Off on How to apply flat roof sealant 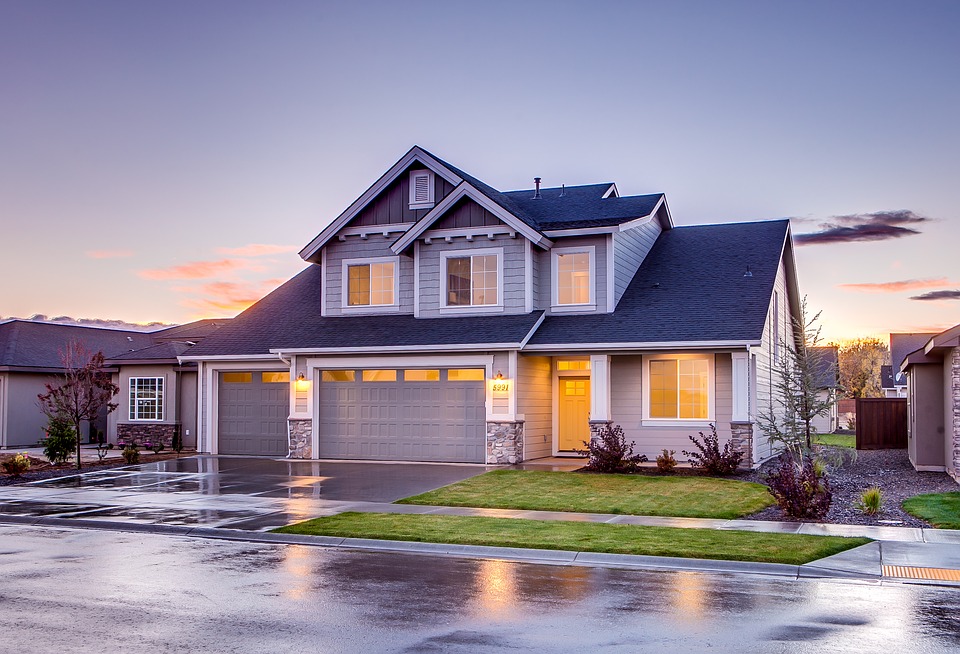
A flat roof safeguards your house from pooling water. In fact, a lot of homeowners prefer this type of roofing to save time cleaning and removing stock water especially during the rainy season. Adding a roof sealant prevents the water moisture from entering the building or home. So if you do not know how to apply flat roof sealant, here are some tips you can follow.
Clean your roof
Before applying a flat roof sealant, make sure your roof is clean. Remove all debris and unnecessary trash on the roof using a push broom. Dispose them into the trash can or use a vacuum cleaner to suck them up. If you don’t clean before applying a flat roof sealant the latter cannot effectively stick onto the roof causing issues in the beginning of the project.
Pick the correct flat roof coating
Choose a flat roof correctly. Be aware that there are thousands of different flat roof coatings available in the market. A rubber membrane is easy to install because it is cheaper and normally outlasts any product. A liquid flat roof coating is not quite a good option because it has some leaks. If you are located in a cold area, make sure you buy a flat coating that can withstand cold weather conditions.
Apply the liquid coating
After cleaning the flat room, you can start applying the liquid coating. Also read the label of the coating to know which direction you need to apply the liquid. This is very important to dry the paint faster. You can begin in one corner of the roof and accomplish one section first before proceeding to the rest of the flat roof. Apply in a small section until done.
Install the rubber membrane
Make sure you install the rubber membrane. This will cover leaks and prevent water from dripping through the roofing. Use a tape measure to get the suitable size and lay it on the roof, making sure each edge is covered. You can use a tape to seal the seams and continue until all parts of the roof are covered. Once all of the parts are covered, your roof is entirely sealed and ready for the rainy season.
Applying flat roof seal can be a daunting task. If you don’t know how to apply a flat roof sealant, it is best to contact someone who can help you with it. Approaching a correct company will also help you avoid dangers and liabilities arising from this job.
Kitchen Remodeling Tips
Posted by admin in Roofing on Sep 26th, 2019 | Comments Off on Kitchen Remodeling Tips
Are you planning to remodel your kitchen but don’t have any idea where to start? Remodeling a kitchen is a big task that involves a bunch of decisions. But the whole kitchen remodeling process can be exciting and satisfying too mainly when it’s time to start using a kitchen designed to meet your needs and desires. The ideal approach to begin is making a list of things to get. There’s no expense of imagining. List features you have always wanted in your kitchen. Here are some useful kitchen remodeling tips to get you started with it. Here we have a few tips for you to prevent expensive mistakes, eliminate the stress of thinking over new designs and get the small kitchen you want! Make the remodeling easier, affordable and more successful.
Review the tips below and get it implemented in your basic kitchen:
- Build a counter in the center
Want more counter and storage space in the kitchen, and then build up a center island which is economical and worth it in remodeling. But this is possible only if you have a spacious kitchen. Otherwise, it will limit the number of people working in the kitchen. Try out different cubicle spaces before committing to one. One more option is there of trolley instead. Both options will make your kitchen a happy place with modest features.
- Decorative backsplash rack
Oh Yes!! It will give an entirely new look to your kitchen; Backsplash rack offers easy access and stylish storage. The best part is the most versions take a few minutes only to install. You can check the variety of these racks online & get in affordable cost.
- Find the Right Height for Kitchen Appliances
The important part is to decide the right height of each appliance to be used in the kitchen, which either not makes your kitchen messy or should not in the reach kids. The best height and location for a microwave oven, induction, toaster depends on the chef. Also, place these things on height in shelves which will make it modest and spacious.
- Add a Message Center
This tip will give your kitchen a distinctive look, a message center!! Yes, board for sharing messages within family and place near the kitchen telephone. To make it more colorful, use vibrant colored sticky notes, put a bulletin board, chalkboard, or whiteboard on the wall or hang a calendar, notebook, etc. to write the information regarding grocery or message for other family members if required. It will give a modest look to your kitchen.
- Be frilly to choose designs and colors
You should be very careful while selecting designs of cabinet’s whether to go for glossy designs or matte. Also, be frilly while choosing lights for the kitchen. Brilliant designs catch spills easily as compare to matte ones. While deciding colors make sure to select light and soft colors, this will visually expand the small space.
Kitchen renovating isn’t something that you do each day. It’s better to invest some energy and think about the ideal approaches to use the kitchen space and design. Appropriate ease of use, a lot of storage room, a sufficient amount of lighting and vibrant look and feel is exceptionally vital. A kitchen is more than just appliances and wooden cabinets. These thoughtful above mentioned tips will help you in the kitchen remodeling for a spacious modest, happy kitchen!
DIY – Kitchen Remodeling Tips
Posted by admin in Roofing on Mar 28th, 2019 | Comments Off on DIY – Kitchen Remodeling Tips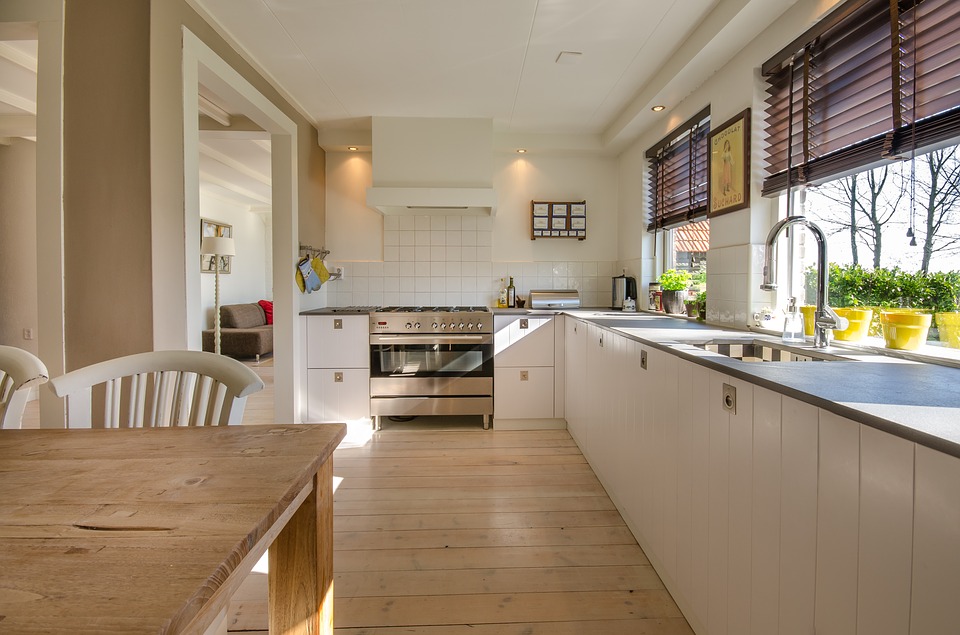
Remodeling a kitchen takes a great deal of making a plan. You have to decide what you want to change, what can stay and what your budget is. The benefits of remodeling your kitchen are well worth once it is done. When you are going to remodel a kitchen, there are many things to consider; such as do you prefer cabinets or drawers, would an island or breakfast bar, do you want Granite, Formica or Travertine countertops, do you need more storage, and so on?
- One of the biggest challenges is to choose a reliable contractor unless of course, you decide to do it yourself. The trusted contractor will make this complicated process as comfortable as possible.
- Whether you have a large kitchen or one with limited space, you should always try to make every inch count maximize functionality. Once you have your kitchen space planned out the other challenge in remodeling your kitchen is not only to choose suitable materials and colors for it but also create a lively interior that incorporates appliances and cabinets with structural elements.
- Need to make a perfect plan where you will be putting your fridge, oven and other kitchen appliances. Creating a lively interior can be a challenge, but a detailed plan can help provide order. There is an imaginary triangle that you should use when remodeling your kitchen which experts call the kitchen work triangle.
- To further make your kitchen user-friendly it is essential that no entry, appliance or cabinet doors block each other when they are open. If you have an island in your kitchen, an appliance or door on the island should not hit an appliance or cabinet door across from it.
- Modern kitchens usually face the dining area so that the cook can still talk to his or her guests or family members while preparing a meal. If you are worried that you might not be able to distinguish which is your kitchen and which is your dining area if you do this, all you have to do is pick the field with a higher ceiling and make that your kitchen.
- For small kitchens, finding space for storage can be a significant problem. One of the best ways to keep a smaller kitchen organized is to build a walk-in pantry instead of using cabinets.
- Countertops can differ in heights, and this allows for visual variety and helps to maximize productivity. Vary your cabinet door styles to make your space more interesting; after all, your kitchen does not have to be uniform. Use one method of the door for your wall cabinets and another style for the island. Or choose different cabinet colors or decorative finishes to add some interest.
- For those who do find appliances to be eye soars, there are panels that you can install to hide these appliances, so they blend in with the rest of the cabinetry. Just make sure the panels match your cabinets. For items that you can’t hide, like your stovetop, using a raised ledge or breakfast bar on your island or kitchen peninsula can help protect the stove.
- A straightforward way to also help hide your appliances is to buy stainless steel. Stainless steel appliances reflect the color of their surroundings, and since the material is neutral, these appliances are often much less noticeable.
- Get ideas by looking at pictures of other kitchen remodeling jobs. The Internet is a great place to do this. Internet will help you get inspiration for how you want your kitchen decorated and arranged.
- Visit home stores and kitchen stores. Many have kitchens set-ups and products. By visiting these stores, you will see how kitchen product look and you can also ask the salespeople about its durability and functions.
Keep in your mind that your kitchen is one of the most useful and most used areas of your house. Remodeling it to make it you’re cooking and social space but may require a lot of work.
3 Reasons Why You Should Paint Your Exterior
Posted by admin in Roofing on Sep 22nd, 2018 | Comments Off on 3 Reasons Why You Should Paint Your Exterior
Painting the exterior of your home is one of the most important improvements you can make to your home; whether old or new. Repainting your home’s exterior can make your house appear fresh and new and will also make it stand out from the other homes on the block. Here are 3 main benefits to painting your exterior:
Extend the Life of Your Walls
Regular painting of your exterior walls will ensure they stay in good condition and have a longer lifespan. Regardless of the type of stucco that you have, painting will help them remain in good condition and will ease maintenance costs down the road.
Raise the Resale Value of Your Home
Painting the walls of your home is a sure and easy way to raise the value of your home. Besides giving your home a new look, you will also impress potential buyers who visit your home. Potential buyers will appreciate that you have taken good care of the house and it is in good condition.
Repainting the exterior of your home does more than just giving your home a pretty look. In short, repainting the exterior of your home will benefit you in many ways than you could imagine. This is why homeowners are advised to repaint their walls at least once every 5-7 years.
Curb Appeal
The aesthetic value of your home isn’t only for you as the owner. Curb appeal is about setting your home to give a good first impression to a prospective buyer. When a potential buyer likes the appeal of your exterior, they will be interested to get more details about your home and stand a chance to buy your home.
Tips for DIY Tile Roof Repair
Posted by admin in Roofing on Apr 5th, 2018 | Comments Off on Tips for DIY Tile Roof Repair
Tile roof repairs can be a very challenging activity to carry out. By avoiding some common mistakes, you’ll achieve success in repairing your tile roof.
Replacement Tiles
As challenging as tile roof repair can be, you can still find it easy to take a faster route and worry less about the tile you are replacing another with. You should know it has to be the same type of tile and the same color as well. If you ignore these conditions, then you’ll be left with nothing but a clumsy-looking tile among many other tiles. Not only will the roof look bad, it may as well not click properly into the right place with other tiles.
Make Sure You Get a New Tile
Some people will tell you to take a tile from the less visible area of your roof to replace the damaged one. DON’T DO THIS! Let me reiterate- under no circumstance should you this. Doing this will only leave that “less visible” part of the roof exposed, which is why we recommend you keep about ten tiles in the garage is a good idea. So, when you have a damaged tile, all you have to do is remove the damaged one and slot in the new one. Voila!
Be Careful
Removing a tile out of its position may be challenging. This is where using a crowbar comes in. However; it is important to do this carefully because if you don’t, you may end up damaging another tile or even cause tiles to fly across other parts of the roof.
Do Not Assume
For you to have a broken tile(s), there is definitely a reason for this. It may be caused by the weather or an error when the roof was being fixed from the onset. Do not assume the broken or damaged tile is a one-off. Make sure you check other tiles around the damaged tile as this could make you aware of any problem you have to deal with.
Watch Your Step!
Replacing the tile yourself will most likely make you become single-minded. Meaning- you will only be focused on changing the broken tile forgetting other important roof-related factors. Some tiles may be a little difficult to reach; you should try as much as possible not to directly put your weight on a tile because it will put too much pressure on the tile which may cause it to break.
Coating and Sealing a Flat Roof
Posted by admin in Roofing on Feb 10th, 2018 | Comments Off on Coating and Sealing a Flat Roof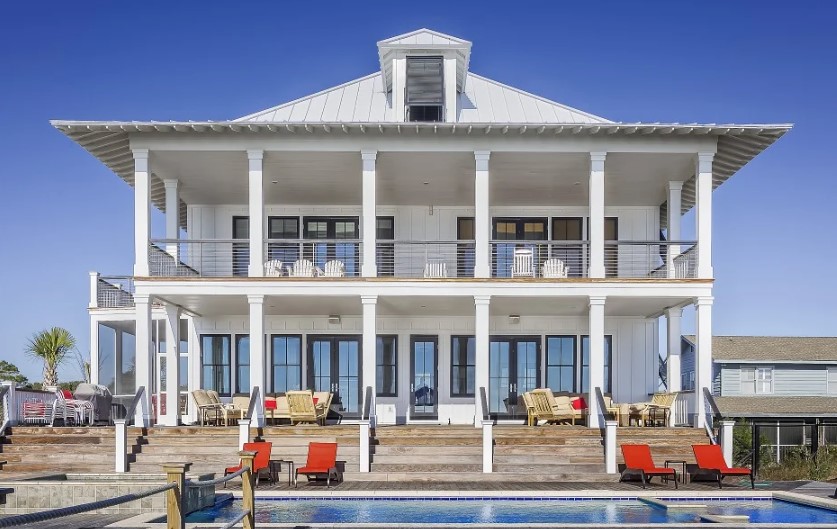
Get the job done right the first time
Carefully consider the difficulty of DIY flat roof repair. If you have any doubt, we recommend you contact a professional roofer or painter in your area. This is one of those tasks that you really want to be sure to get the job done right the first time. Often trying to attempt a complicated job can result in what looks like victory, but can result in more problems down the road and may even end up costing a lot more money.
For flat roofing, get the job done right by consulting a professional with expertise and experience. We recommend APR roofing in Scottsdale, Arizona.
Regular Maintenance
Flat roofs require regular maintenance by cleaning the debris that may build up and clog roof drainage. In Arizona, the blazing heat can cause the sealing compound to break down over time. We recommend you get it resealed and recoated every time you paint the exterior, which should be about every 5-7 years.
How we do it
- First, sweep all the dirt and debris off the surface. It is important to ensure you have a clean surface for roofing cement to stick to properly.
- Next, cut around any areas that are cracked or peeling and remove the bad sections. Be sure to make your shapes either squares or rectangles. It makes it easier to keep them uniform and easier to replace with new materials.
- Try to take that cut-out piece and use it to measure a new piece of shingle or roofing material. You will want to ensure that cement or putty around the edges is adequate to keep a watertight seal. Flat tops on buildings can allow standing water if there is not proper drainage (yes, even in Arizona if only for a couple of days). So, you don’t ant to allow the water to have a place where it can seep in and cause more damage in the long run. Patch a full layer of cement seal to ensure all edges are tightened down.
Follow these tips to properly seal your flat roof and it should last as long as the house. Oh, and shout out to our fellow contractors at BGB Painting for the tips.
